It is time to cut the cake for ModCloth’s 20th birthday! To help us celebrate this milestone, we dig into a delightful treat by Instagram …
Behind the Birthday Cake: Q&A with Kassie from @ibakemistakes
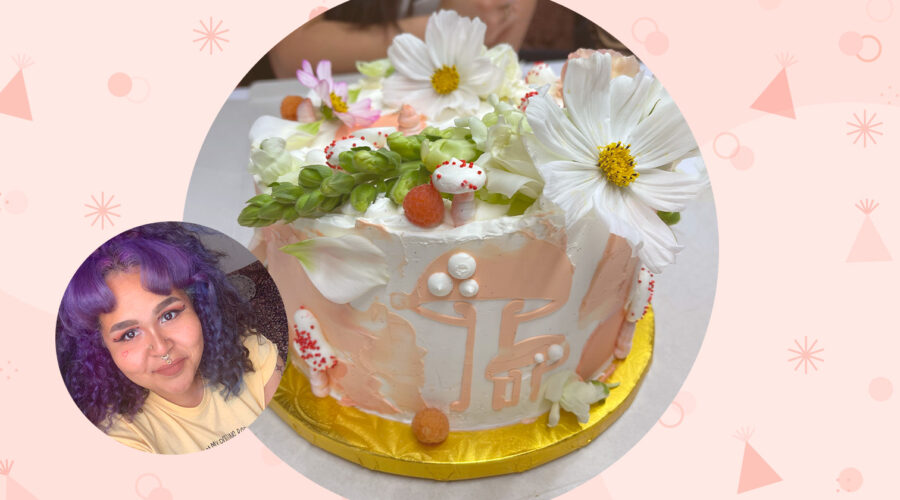

It is time to cut the cake for ModCloth’s 20th birthday! To help us celebrate this milestone, we dig into a delightful treat by Instagram …
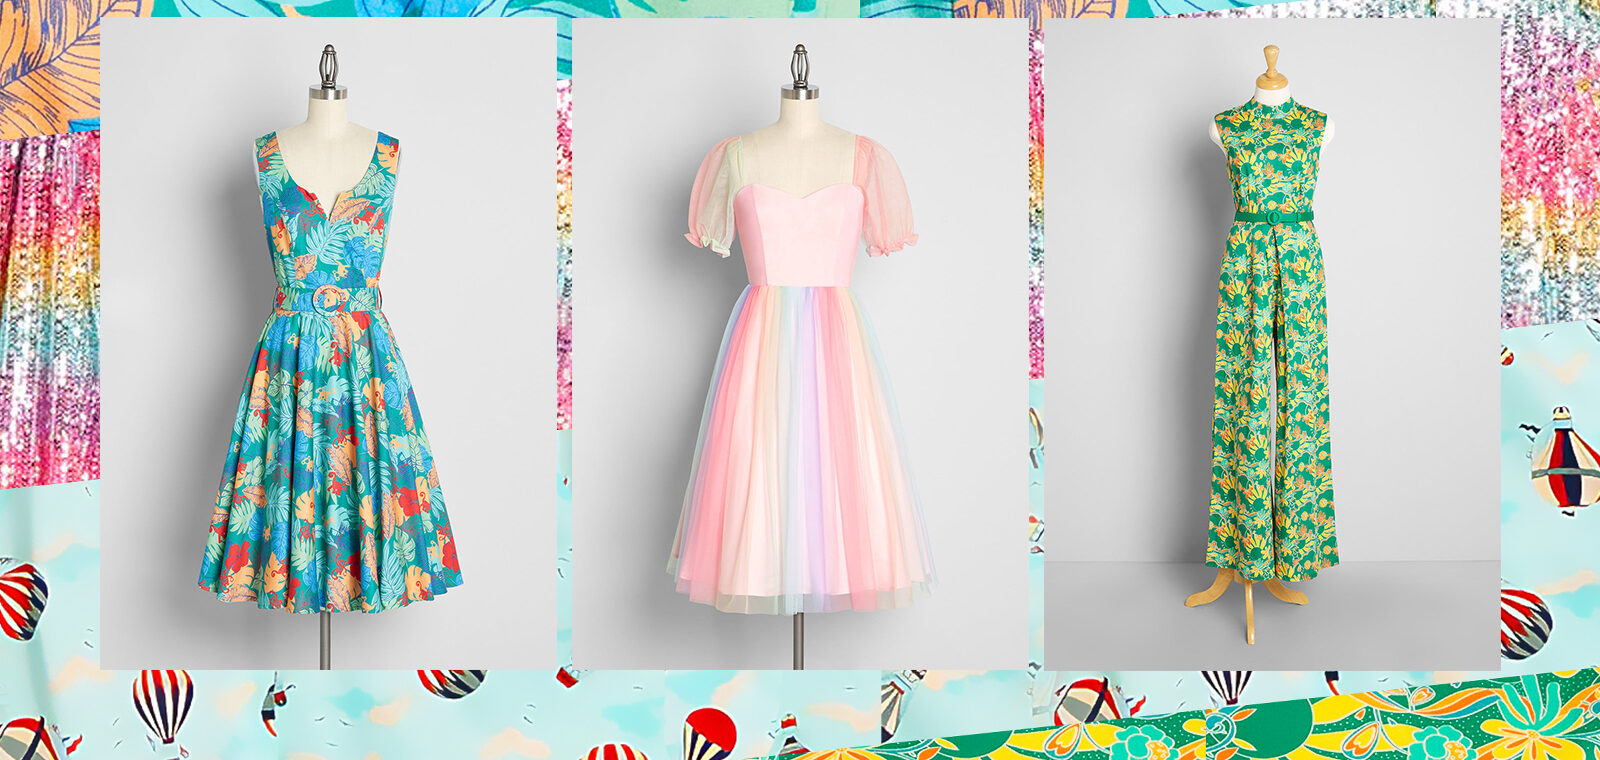
You loved it so we brought it back with our Back By Demand Favorites! Whether it is a piece you want in every color or …

With keys are in the ignition and a map spread over your dashboard, journey into a summer day with our ’50s Summer Collection! Dressed for …
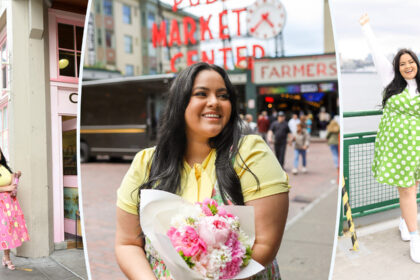
Get dressed for a day off with our effortlessly easy and confidently cool summer sundresses! This week, ModCloth Blog is celebrating the versatility of the …

This summer, our closets are journeying though the ages with our latest drop of styles from decades gone by. We are delighting in looks from …

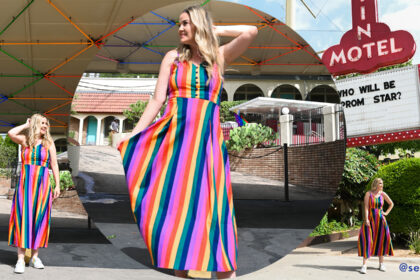
Supernatural forces are taking over your closet this summer and we are confronting the uncanny, bizarre, and curious with a few adventurous finds. Channeling the …
As your troubles disappear in your rear view mirror, take on the open road with our ’50s Summer Collection! With our favorite styles in tow, …
Last week, the Trans Wellness Center of Los Angeles showed their love to the community with a day of job and resource fairs on June …

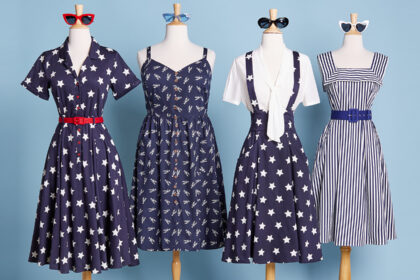
Roll the windows down and tune into your favorite playlist because we are welcoming summer with our ’50s Summer Collection! This month, we are hitching …
Picnics in the sun, trips to shore, and balmy evenings watching fireworks are just a few things we are looking forward this summer. And welcoming …